
We celebrate two birthdays in our family this month and so there is a lot of cake at our house right now. Usually my husband orders my cake from an amazing local bakery, but this year I wanted to do things differently. I decided that I didn't want a traditional cake so that if I later decide to deny the fact that I am no longer in my twenties, I am able to do so because after all we didn't use a "cake." (I am of course totally joking.)
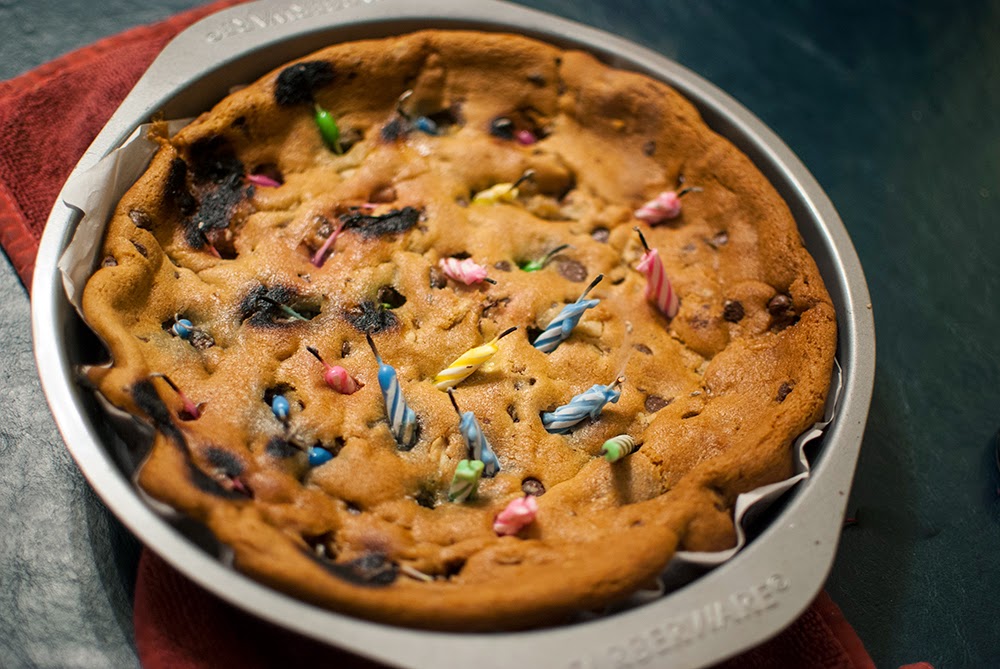
My request was a giant, warm, and gooey chocolate chip cookie with ice cream on top. The key part of my request was warm. Now it was probably common sense that we should have waited slightly longer to place the candles into the cookie after it was removed from the oven. Ten minutes was apparently not long enough because many of the candles melted into the cake. But to compound things even more, this was the year that I insisted that every single year of my life was accounted for with a candle. By the time the candles were lit, and Happy Birthday had been sung, my cake was on fire. Luckily I blew the fire out with my birthday wish and though the cookie was slightly burned and waxy, it wasn't the end of the world because we just cut around those parts and the ice cream (one of our very favorite brands and flavors) more than compensated.
It is my husband's tradition to have an ice-cream cake every year. While Baskin Robbins ice cream cakes are delicious, they are so darn expensive and so I make him a homemade ice cream cake every year. It is the easiest thing in the world to make (my four year-old helped) and is quite delicious. I always receive compliments on the cake and it is a keeper recipe in our family.

To make the cake you need the following ingredients:
1 Quart of Ice Cream (flavor of preference, he always requests Rocky Road)
-1 Package of Oreo Cookies (knock-off brands will work also.)
-1-2 T butter (Butter amount may vary depending on the size of your cake. Use enough that the Oreo crumbs will stick together.)
-Frosting (Store bought or homemade, I prefer the homemade because I think that it tastes much better. If making home made you will need cocoa powder, powdered sugar, butter, milk, and vanilla.)
Instructions are as follows:
1. Allow your ice cream to thaw for about twenty minutes on the counter. Don't allow it to melt completely but it needs to be soft enough that it can be molded.
2. While ice cream is thawing, line a cake pan or round pan of choice with plastic wrap.
3. In a blender or food processor, grind the Oreos until they are fine crumbs. You probably won't need the whole package of Oreos, but it will really depend on the size of pan you are using.
4. Melt butter in the microwave and then mix into the Oreo crumbs. Set Aside.
5. Spoon ice cream into your lined pan and smooth out. Next dump the Oreo crumbs onto the top and pat with a spoon or spatula until firm.
6. Place cake inside the freezer for a few hours until the cake is firm and the ice cream is once again solid. (About 3-4 hours usually.)
7. If making homemade frosting, prepare the frosting using your recipe of preference. I always use the Chocolate Butter cCream Frosting Recipe from the Better Homes & Garden cookbook.
8. Gently remove the cake from the pan and place right side up on a plate. (It should be easy if you wrapped your pan well. Remove plastic wrap.
8. Using a spatula, spread the frosting on the cake until covered and smooth (as much as possible.) Note that room temperature frosting will spread much easier than cold frosting.
9. Decorate with desired sprinkles, etc.
10. Place in the freezer until ready to serve.
No comments:
Post a Comment